Can a dreaming AI fix low res digital photos in the edit?
Can a deep dreaming AI transform low res photos into crisply detailed high res images?
Let’s Enhance is an Estonia-based startup that’s using a so called ‘hallucinating AI’ deep neural network to power a freemium photo upscaling service. On its website it claims the learning software “hallucinates missing details to make image look natural”.
It launched the online tool at the end of October, garnering a bit of early press coverage.
I tried it out at the time but results seemed mixed and it was hard to judge how useful it might be without a proper use case to test it on.
So I bided my time and this month happened to find myself with just the sort of digital photo challenge that I thought the service might be able to help with — in that photos I wanted to gift as framed prints didn’t have a great resolution for producing a decent sized print.
Low res photo problems? AI to the rescue!
One of the photos was just a fun smartphone snap. But others were a bit more high stakes — being from a wedding.
And after attempting (unsuccessfully) to source their full res versions — attendees’ photos having been collectively shared after the fact via iCloud; and no one could apparently remember who had taken the specific shots I was after (or on what device) — I decided to run them and the more casual portrait through Let’s Enhance to see if I could boost the resolution and have a chance at turning them into gift-able prints.
The service is freemium and caps the number of photos you can run through it per day. It also locks out at 10 free photos total before you’re pushed towards one of its subscription plans. But as I only had a few shots to upscale I was able to run everything through the freemium gate without needing to sign up for a subscription or buy a cost bundle (which they also offer).
Each photo you upload to Let’s Enhance’s AI gets returned to you after seconds (or maybe up to a minute or two) of processing time in three versions, reflecting the different stages applied to try to AI-enhance it. So per photo you get three files back, which are given the following labels: Anti-jpeg, boring and magic.
The ‘anti-jpeg’ version of the image does not upscale the actual size — it just appears to lightly polish out some compression artifacts. Though I found its results to be pretty subtle, at least on the shots I tried and comparing original vs anti-jpeg images on a screen.
The ‘boring’ and ‘magic’ techniques always upscale the image by 4x so I was able to turn — for example — a 520KB digital photo file with a resolution of 898×1600 into 21.8MB with a full 3492×6400 pixels. So — in theory at least — the upscaled version could be printed poster sized.
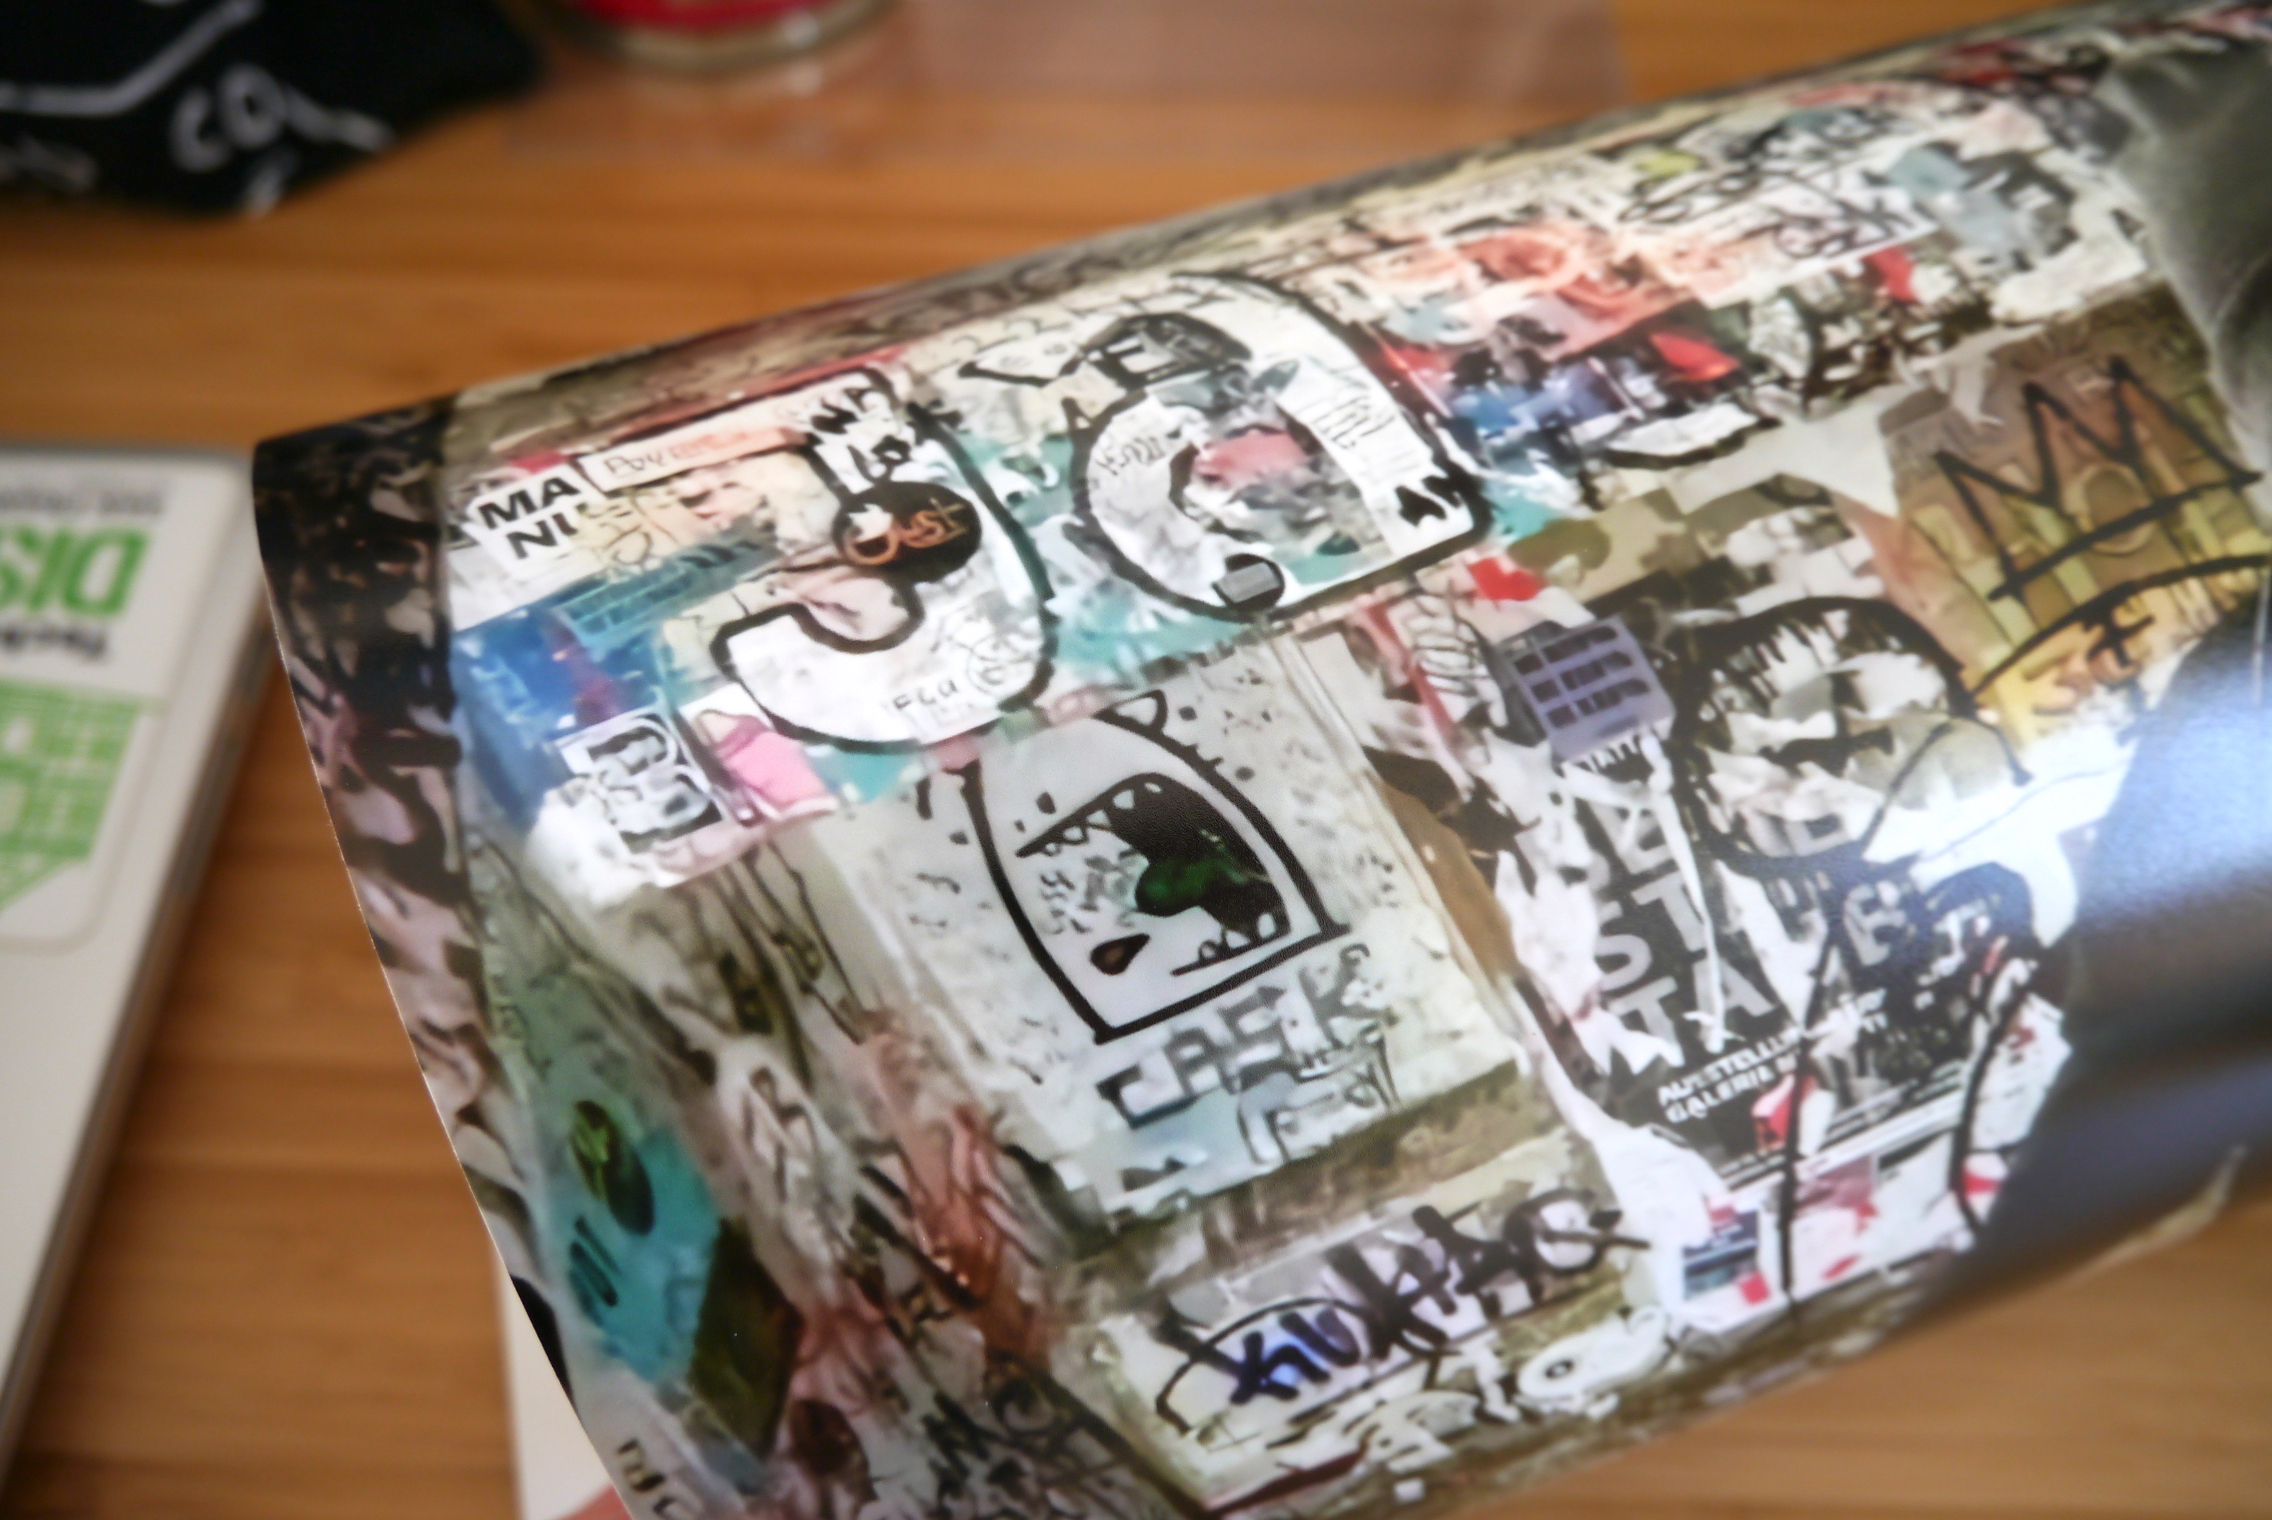
The results from the boring and magic techniques applied to this particular portrait photo seemed visually impressive on screen. Though the portrait was taken at a fair distance and its cluttered graffiti stairwell background is probably a pretty forgiving canvas for concealing upscaling imperfections.
To my eye there wasn’t a huge difference between the two processing techniques when applied to this photo — the magic version produced a very slightly fuzzier result. But again, for this particular shot either file would probably have yielded a fine framable print.
The photos from the wedding were definitely a lot more challenging. Two of the original shots appear to have been taken with a smartphone camera of fairly standard quality, so while they look nice on a screen their low resolution of just 1024 × 577 meant the max size you could reasonably expect to print them would be a tiddly ~4-inches.
After cropping one of these shots to remove an incidental bystander and upscaling via Let’s Enhance the image came back with a resolution of 3408×2304. So at least technically large enough to produce a decent sized print.
An added challenge with the second image was that it had been taken at a distance, in portrait orientation, and I wanted a close up of the faces — which meant major cropping into a smaller landscape format and an attempt to focus on what had been pretty remote details to start with.
After upscaling and cropping I got an image with a resolution of 2182×1684. Again, in theory, a small print could work at that resolution.
However the AI upscaling had produced an effect that was definitely a lot more vaseline screen than fine outlining — doubtless on account of the original shot not being great quality to begin with.
Let’s Enhance CEO Oleksandr Savsunenko did warn me that: “If the picture is too much zoomed or pixelized, the system will ‘consider’ it as natural pattern and will not change it.”
So I wasn’t exactly expecting miracles. But even the slightly larger of the two photos did not look exactly crisp in terms of detailing after its AI trip.
Of the two processing layers, boring again appeared to have worked best — with magic resulting in a lot more fuzz/artifacts in both of the shots. Including giving the edge of what should be some skin a kind of fabric-style fringing.
That must be the AI pattern-spotter at work…
A third image from the wedding was a full res photo, so didn’t have the same quality problems. But again I was after just a cropped detail — so I used Let’s Enhance to upscale the crop to enhance its resolution. This mean I went from a reasonable 2032×2355 to a generous 8128×9416.
As well as being a better quality image to start with this wasn’t such a close up portrait so the upscaling seemed to work better here, especially across a cityscape/landscape background with the couple only being shown in profile. Although, here too, details on the magic version came out slightly fuzzier than the others.
Now, armed with my upscaled files — and at least a chance of some passable prints, I loaded the images onto a thumb drive and headed down to the photo shop.
So how did the prints look?
As expected, the upscaled crop from the high res original wedding photo came out well — in all versions I printed.
A 20 x 15cm print looked great and had clear and vivid details. A non-professional wouldn’t guess it was just a section from a larger shot. Although whether this was down to the AI’s skilled upscaling or really more a case of having a reasonable resolution to begin with for a print that size is less clear.
When it came to two lower quality original AI-upscaled wedding photos, the quality of the ~6 x 4-inch prints I got back wasn’t great — reflecting the enduring fuzziness of the digital versions. Some of the darker skintones had also been given a weirdly grey-ish hue.
The less challenging of the two shots would be just about passable in a photo album. But neither print was gift quality. The portrait with slightly clearer detail to begin with printed up looking almost irritatingly just out of focus. At least to a human eye.
Clearly a hallucinating AI is no substitute for having a full res original.
That said, if you only have an average quality mobile snap to start with then you have to work with what you’ve got. And I’d probably been able to produce the best quality prints I could hope for, given the low quality source material.
The casual smartphone snap fared a lot better. A print of around 8 x 6-inches looked great framed up — and had especially impressive background detail.
The maximum size the print shop suggested for poster printing the image based on its file size was a full meter high(!). Which would clearly have been pushing it. I opted for a poster print half that size — and the resulting print definitely did not have as impressively crisp details as the photo print.
You could now pretty clearly see visible artifacting in the background graphics and graffiti — so I was definitely getting to the limits of what you can do with an AI-upscaled image at this point…
Even so, given the grungy subject matter, the poster still came out looking pretty cool overall. So for this use-case I was pleased.
A hallucinating deep neural network
Here’s how Savsunenko explains the technology underpinning the Let’s Enhance service: “The core of our Hallucinating AI is a deep neural network with custom architecture loosely based on modern GAN approach (GAN — Generative Adversarial Network). It was discovered a few years ago and has a wide variety of application besides generating acid trips.
“The basic idea of GAN is to train two networks at once – one network does the upscaling, another acts as a critic — learning how to distinguish real images from upscaled ones. During training upscaling network tries to produce the image to fool the critic and improves based on its feedback. This teaches upscaling network to produce realistically looking images. We also use several pre- and post-processing filters based on image type and quality.”
According to Savsunenko, the tool works best with upscaling digital photos and digitally created illustrations.
“We’ve been contacted by a number of users sharing their result and we were surprised to found a very broad use-cases,” he said — claiming for example that scientists and doctors are using the tool to upscale X-ray and microscopy photographs to “better see the details”.
He added that others have used the service to ‘save’ their digital photo collection when they lost their hi res originals.
Another use-case he mentioned is for ecommerce owners to boost product images quality — especially when they’re resellers and thus can’t take better photos of the products themselves.
He also said it’s useful for photographers wanting to crop out parts of images and still be able to print them out — a use case I also tested. Though I found this really only worked if you had a good quality image to start with.
Bottom line: If your original is a bit fuzzy the AI isn’t going to work miracles and clean it up.
He also clarified that the anti-jpeg neural network is intended specifically for removing JPEG artifacts. “Even iPhone does JPEG compression — if you what to enlarge part of your iPhone photo this combo works best,” he noted on that.
Let’s Enhance: Verdict…
Overall — off screen — I was not overly wowed by the results.
Let’s Enhance may be a useful tool when you have smartphone snaps you want to size up for using digitally. But it’s not literally going to enhance the details of the original shots if they’re a bit fuzzy or out of focus to begin with (with perhaps the exception of Jpeg artifacts, though I can’t say my tests proved this out either).
‘Let’s Embiggen’ might be a more accurate name for the service.
That said, photos with more forgiving compositions can upscale more successfully — and made for some reasonable prints in my experience. Landscapes vs portrait shots are probably a safer bet. As for weddings and other key occasions, AI is definitely not going to be putting any professional photographers out of business yet.
I’m not sure Let’s Enhance would be a service I’d deem useful enough to subscribe to for just upscaling the odd snap or two. But they do also offer bundles like 20 images for $4.99.
The service seems most useful if you need a tool for supersizing low res digital imagery regularly, say for fairly lightweight ecommerce purposes. (And indeed, that’s where Oleksandr says the original idea came from — after his father asked for help with design and visual content for his Internet shop and only had low res images on tap.)
Otherwise I’d say you’re better off investing in a decent camera — and/or a pro photographer. Turns out, even a deep dreaming AI can’t fix a fuzzy shot it in the edit.
Published at Thu, 21 Dec 2017 14:31:58 +0000


